

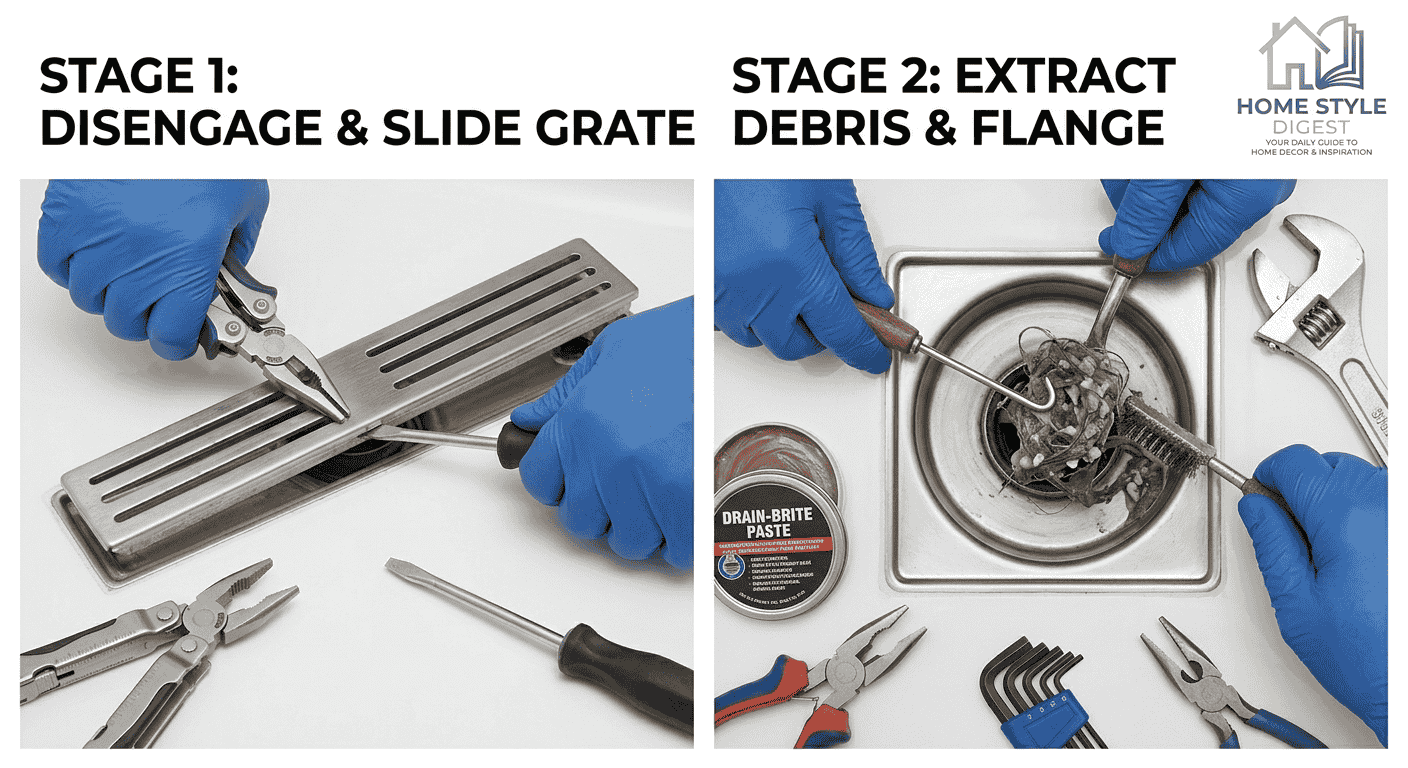
How to remove shower drain depends mainly on the drain design, the condition of its fasteners, and whether the surrounding seal has hardened. A shower drain with a removable drain cover may need only basic hardware, while a corroded assembly can require a more careful repair approach.
- How To Remove Shower Drain
- Prepare The Drain Area
- Remove A Threaded Drain
- Inspect Before Repair
- A Practical Removal Observation
- How To Remove Shower Drain From Tile
- Expose The Drain Edge
- Separate The Sealed Components
- When The Drain Is Stuck
- How To Remove Shower Drain Without Tool
- Try Manual Removal First
- Check The Stopper Assembly
- Remove Shower Drain Cover No Screws
- Release A Stuck Cover
- Inspect Hidden Components
- Clean Before Replacing
- Types Of Shower Drains And How To Remove Them
- Match The Drain To Its Hardware
- Consider The Shower Surface
- Clean And Inspect The Assembly
- An Experienced Removal Approach
How To Remove Shower Drain
A drain body sits below the visible surface, so removing the upper section without damaging the surrounding shower structure is usually the safest approach. When standing water, dirty water, or soapy water remains around the opening, the issue may indicate a clog rather than a damaged drain.
For routine shower drain removal, a homeowner can first identify the drain type and inspect the screws, stopper, and visible hardware. This makes the job more beginner-friendly because the correct removal method becomes clearer before force is applied.
Prepare The Drain Area
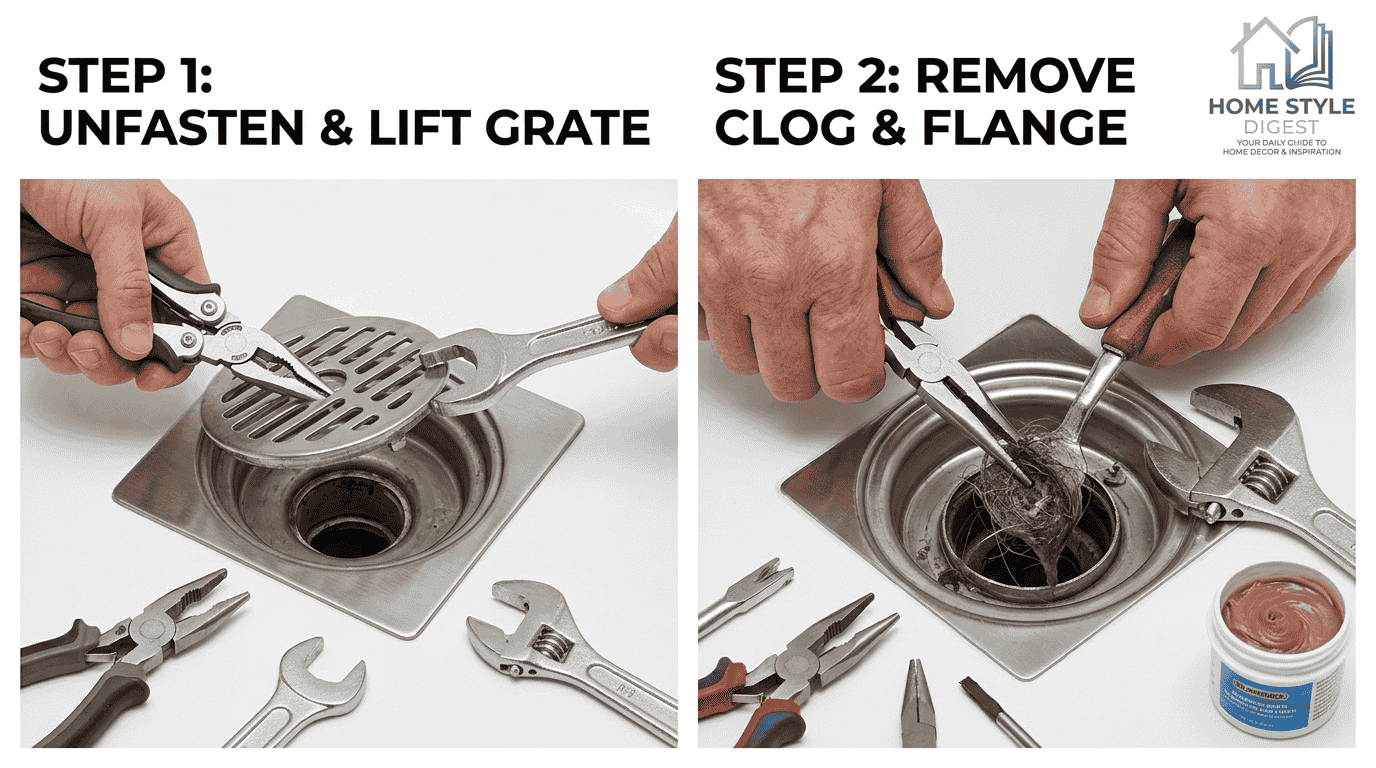
A practical plumbing task starts with the drain area completely dry. Safety glasses and gloves protect against debris, while a screwdriver and pliers can handle many accessible components. If the drain has rust, corrosion, or mineral buildup, patience matters more than force.
Older fittings may have calcium buildup around the threads. Applying penetrating oil can loosen stubborn connections. A utility knife is useful when old sealant prevents movement, especially before attempting to separate the flange from the surrounding surface.
Remove A Threaded Drain
A drain key, dumbbell wrench, drain extractor, or internal pipe wrench may be suitable depending on the assembly. Once the tool grips the fitting securely, turning counterclockwise can release a threaded connection without putting unnecessary pressure on the shower pan.
If the fitting refuses to move, additional lubricant and controlled pressure are preferable to aggressive twisting. The goal is to protect the surrounding structure while preparing for drain replacement, installation, or resealing.
Inspect Before Repair
After removal, the opening should be checked for damaged seal, deteriorated threads, or evidence of a leak. This inspection often reveals whether the problem requires simple drain cleaning, a complete replacement, or further troubleshooting.
A new fitting should not be installed over an unstable surface. The old material should be cleaned away, the mating surfaces inspected, and the manufacturer’s recommended sealing method followed before the replacement drain is secured.
A Practical Removal Observation
In hands-on bathroom work, the most common mistake is treating every drain as though it uses the same mechanism. A quick visual inspection often saves considerable time because the visible cover does not always reveal how the underlying assembly is secured.
How To Remove Shower Drain From Tile
Removing a drain from a tiled surface requires more attention to the surrounding tile than to the fitting itself. The shower tile, grout, and grout lines can conceal the edge of the drain, making controlled separation important for damage prevention.
A shower drain cover may be surrounded by silicone or caulk. A utility knife or razor blade can score that material, while an oscillating tool with a carbide bit can help when hardened material is too thick for manual cutting.
Expose The Drain Edge
A flashlight helps reveal the joint between the drain flange and the shower pan. The surrounding shower area should be inspected before anything is lifted. If old grout has bridged the fitting, it should be removed carefully rather than forced apart.
For careful removal, gloves and eye protection are sensible. They provide basic protection when brittle grout or sealant breaks away during the work.
Separate The Sealed Components
Once the perimeter is exposed, the technician can cut through the seal and gently pry the fitting where appropriate. The objective is to break seal material without damaging the drain opening or surrounding tile.
If screws hold the fitting, a screwdriver should be used before attempting to remove the assembly. Pliers can assist with small hardware, but they should not be used aggressively against finished tile.
When The Drain Is Stuck
A stuck drain often results from hardened sealant, corrosion, or accumulated debris rather than an unusually strong fitting. Controlled pressure and repeated inspection generally work better than sudden force.
Once the fitting is out, cleaning the opening becomes part of the process. The surface should be cleared before a new drain or seal is installed, keeping the shower area ready for reliable drainage.
How To Remove Shower Drain Without Tool
A drain does not always require specialized equipment. A shower drain with a removable drain cover may be accessible by hand, particularly when the stopper or snap-in cover is designed for manual removal.
For example, a lift-and-turn stopper, push-and-pull stopper, toe-touch stopper, or flip-it stopper can often be identified by its visible movement. If there are visible screws, those can be removed manually with the appropriate household screwdriver; otherwise, the installer may have used hidden hardware.
Try Manual Removal First
The edge of the cover can be inspected for a small gap. A little lubricant may reduce friction before a flathead screwdriver is used to pry carefully. In some designs, the cover can simply pull upward.
A threaded stopper may twist or unscrew from its fitting. Some designs require the user to remove cap or remove knob first, exposing the internal post underneath.
Check The Stopper Assembly
Once the upper piece is removed, the stopper assembly may reveal O-rings or another drain mechanism. A threaded component can sometimes be loosened counterclockwise by hand.
The exposed drain opening provides direct drain access, making manual removal practical when specialized equipment is unavailable. After cover removal, the opening should receive basic cleaning before the cover is replaced.
Remove Shower Drain Cover No Screws
A shower drain cover with no screws is often a snap-fit design rather than a damaged fitting. A snap-in drain cover may sit tightly against the drain edge, while the visible stopper can sometimes conceal hidden hardware.
Before forcing the cover, a small amount of lubricant or penetrating oil can help loosen deposits. A flathead screwdriver may then be inserted carefully at the perimeter to pry gently around the edges.
Release A Stuck Cover
When the cover begins to move, the installer can lift it gradually rather than bending it. A lift-and-turn stopper may require the set screw to be loosened before turning counterclockwise.
A push-and-pull stopper usually connects differently, while a toe-touch stopper can have a removable cap hiding its mechanism. A flip-it stopper may need its stopper body manipulated before the drain cover becomes accessible.
Inspect Hidden Components
Some assemblies contain an internal post and O-rings that should remain intact if the goal is only cover removal. If the component is damaged, replacement parts should match the existing drain design rather than being selected by appearance alone.
After pulling the cover upward, the drain opening should be inspected. A stuck cover may have accumulated mineral buildup, calcium buildup, rust, or corrosion, all of which can explain resistance.
Clean Before Replacing
Thorough cleaning around the opening restores drain access and makes the next installation easier. If the cover is permanently distorted or damaged, replacement is usually more sensible than repeatedly forcing the old component.
Types Of Shower Drains And How To Remove Them
Understanding the types of shower drains prevents unnecessary damage because different assemblies use different removal method requirements. Common designs include screw-in drain covers, snap-in drain covers, lift-and-turn stoppers, push-and-pull stoppers, toe-touch stoppers, and flip-it stoppers.
A visible shower drain cover does not always identify the complete drain assembly. The upper stopper mechanism may contain screws, a set screw, knob, cap, internal post, or O-rings that must be handled according to the specific design.
Match The Drain To Its Hardware
A threaded drain body may connect to a drain flange, while another system can rely on a compression seal and crown nut. A drain key, dumbbell wrench, drain extractor, or internal pipe wrench can be selected after the internal structure is identified.
For threaded fittings, counterclockwise rotation normally releases the connection. However, excessive force can damage the threaded drain, surrounding shower pan, or connected plumbing system.
Consider The Shower Surface
A plastic drain may respond differently from a metal assembly. A tile shower drain requires care around finished tile, while a fiberglass shower drain needs protection against cracking or surface damage.
The correct drain size also matters when choosing an adapter or replacement drain. Guessing the size can create problems during installation, particularly when the existing assembly has unusual dimensions.
Clean And Inspect The Assembly
Before completing drain removal, the exposed components should receive basic cleaning. Existing silicone or sealant should be removed where necessary, and the mating surfaces should be checked for damage.
If the inspection reveals a leak, the appropriate repair may involve replacing the complete assembly instead of reinstalling one worn component. A properly matched replacement drain should work with the existing plumbing configuration rather than forcing an incompatible fitting into place.
An Experienced Removal Approach
A useful field habit is to identify the drain’s mechanical principle before touching it: threaded, snapped, compressed, or mechanically locked. That small assessment determines which tools, hardware, and sealing technique are appropriate and keeps unnecessary damage out of an otherwise simple job.