

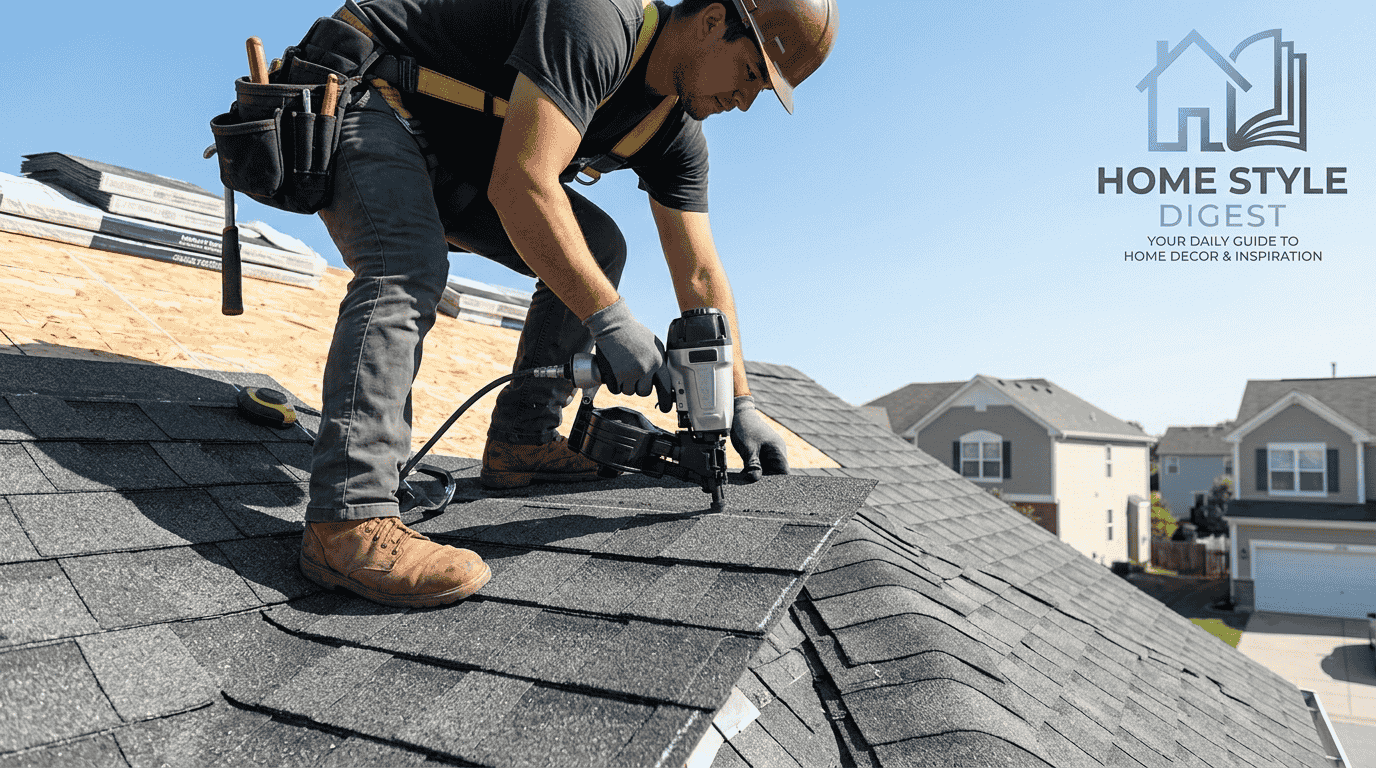
Learning how to install asphalt shingles requires understanding how different roofing components work together to create a dependable roofing system. Experienced professionals know that asphalt shingles are not simply placed on a roof surface; they require careful preparation, correct positioning, and attention to every layer.
A successful installation begins with a clear proper plan, knowledge of manufacturer instructions, and awareness of the demands involved in a home improvement project. Whether using three-tab asphalt shingles or architectural shingles, the process depends on precision, physical stamina, and practical roofing experience.
Many homeowners assume that installing roof shingles is only a matter of attaching materials, but skilled installers focus on durability, ventilation, water resistance, and the layered appearance that protects the property. A qualified roofing contractor understands how each stage of asphalt shingle installation contributes to long-term performance.
How To Install Asphalt Shingles
The process of installing asphalt shingles involves preparing the roof deck, arranging the protective layers, and securing each shingle with the correct fastening pattern. The goal is to create a weather-resistant surface where every component supports the next layer.
Rather than viewing installation as a simple covering task, experienced roofers approach it as a complete roof installation system. The condition of the roof deck, selection of roofing materials, and placement of starter shingles influence the final result.
Preparing The Installation Surface
Before shingles are placed, the roof structure must be evaluated. A strong foundation allows the shingles to perform properly throughout changing weather conditions.
Key preparation areas include:
- Inspecting the roof deck for weak sections
- Checking the roof slope and drainage direction
- Confirming that installation requirements match manufacturer guidelines
- Preparing the necessary protective equipment before work begins
A reliable installation depends on planning before materials reach the roof. The installer must consider physical demands, working height, and possible roof hazards, especially on steep roofs or multi-story homes.
Installing Protective Layers And Roofing Components
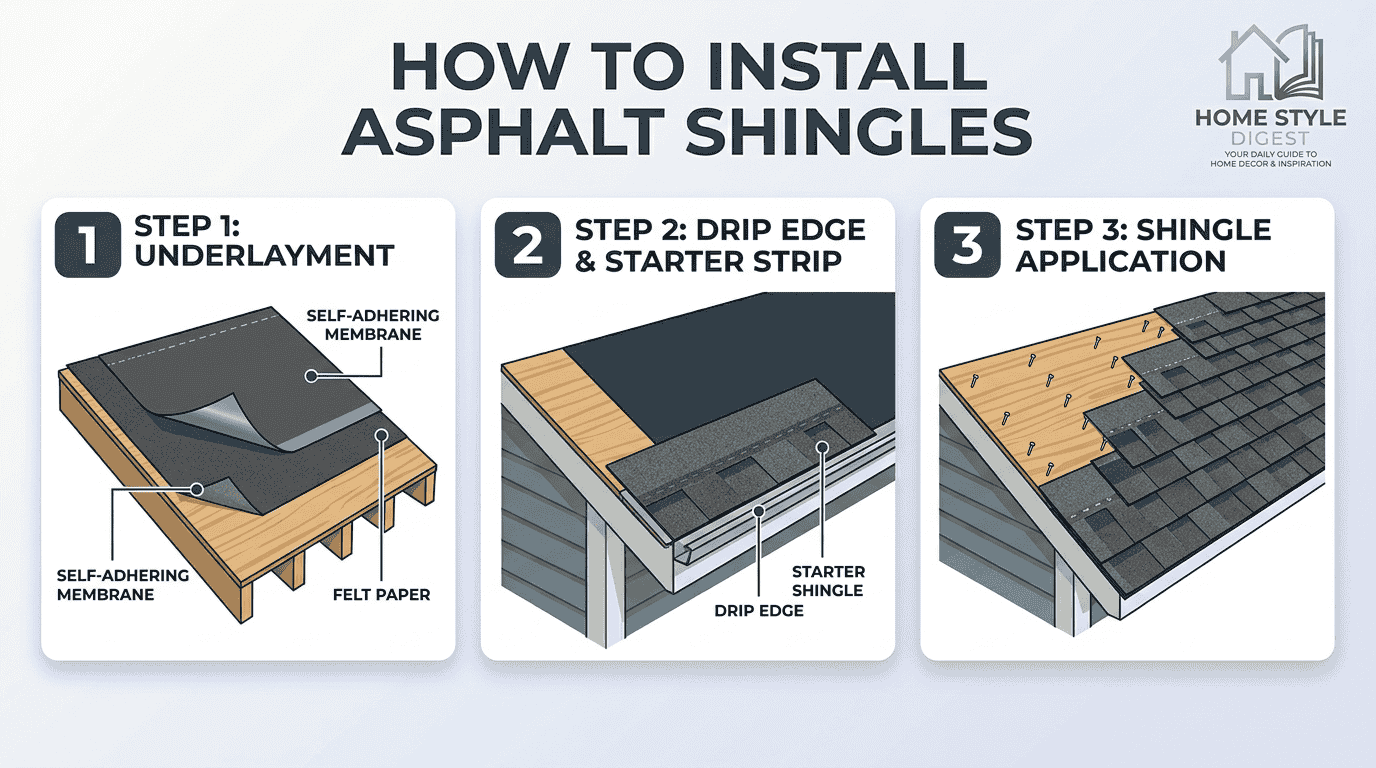
The foundation of a weatherproof roof depends on several connected layers:
- Underlayment creates a moisture barrier beneath the shingles.
- Drip edge directs water away from vulnerable roof edges.
- Flashing protects areas where water could enter.
- Roofing nails provide secure attachment when placed correctly.
The first layers establish water resistance before the visible shingles are installed. Correct overlap and alignment help prevent moisture problems while improving overall weather protection.
Creating The Shingle Layout
A professional installation does not begin with random placement. Roofers establish a layout using measurements, exposure calculations, and chalk lines.
The layout determines:
- The position of the first course
- The spacing between shingle rows
- The amount of shingle exposure
- The stagger pattern required for stronger protection
Horizontal and vertical chalk lines act as guides, helping maintain alignment across the roof surface. This step may appear simple, but it strongly affects the final appearance and performance of the roof.
Installing Starter Shingles
Starter shingles create the base layer for the remaining courses. They are installed along the roof edge to support the first visible row of shingles.
The starter course requires:
- Correct placement near the drip edge
- Proper nail placement
- Secure fastening according to manufacturer recommendations
- Careful sealing for weather protection
A weak starter course can affect the entire shingle roof because later rows depend on its stability.
Installing Asphalt Shingles
The main stage of how to install asphalt shingles focuses on attaching the shingle rows with consistent exposure, alignment, and fastening. Each full shingle must follow the established layout to maintain the roof’s structure.
The installer begins with the first course and continues upward toward the roof ridge. Each row should maintain staggered joints so water cannot easily travel through direct seams.
Important installation details include:
- Following chalk lines
- Cutting shingles accurately
- Maintaining shingle exposure
- Using the recommended fastening pattern
- Checking alignment throughout the installation process
Professional installers combine technical knowledge with experience because small mistakes in placement can reduce durability.
Factors To Consider Before Installing Asphalt Shingles
An effective roof installation requires more than roofing materials and basic tools. Before starting a roofing project, installers evaluate safety conditions, weather conditions, and the existing roof structure.
Safety Before Starting
Roof work involves physical risks, especially when handling heavy materials at working heights. Proper preparation reduces hazards and improves installation safety.
Important safety practices include:
- Using roof safety equipment
- Maintaining fall protection systems
- Wearing protective equipment
- Planning work periods to avoid unnecessary strain
Steep roofs and multi-story homes require additional precautions because balance, movement, and material handling become more challenging.
Tools And Materials Needed
A complete installation depends on having suitable roofing tools, materials, and equipment available before beginning work.
Common supplies include:
- Asphalt shingles
- Roofing nails
- Underlayment
- Roofing felt paper
- Drip edge
- Chalk line
- Tape measure
- Hammer
- Rafter square
- Utility knife
The correct combination of cutting tools, fastening tools, and measurement tools allows installers to maintain accuracy from the roof edge to the ridge.
Tools
Professional roofers rely on tools that improve layout and placement accuracy.
Essential tools include:
- Chalk line for roof layout marking
- Tape measure for precise calculations
- Hammer for fastening
- Rafter square for angle checks
- Utility knife for controlled cutting
Materials
The material selection affects the strength and appearance of the finished roof.
Common materials include:
- Aluminum drip edge
- Roofing nails
- Asphalt roofing felt paper
- Roofing felt
- Three-tab shingles
- Asphalt shingles
- Starter materials
Each component contributes to the overall roofing system and supports long-term weather protection.